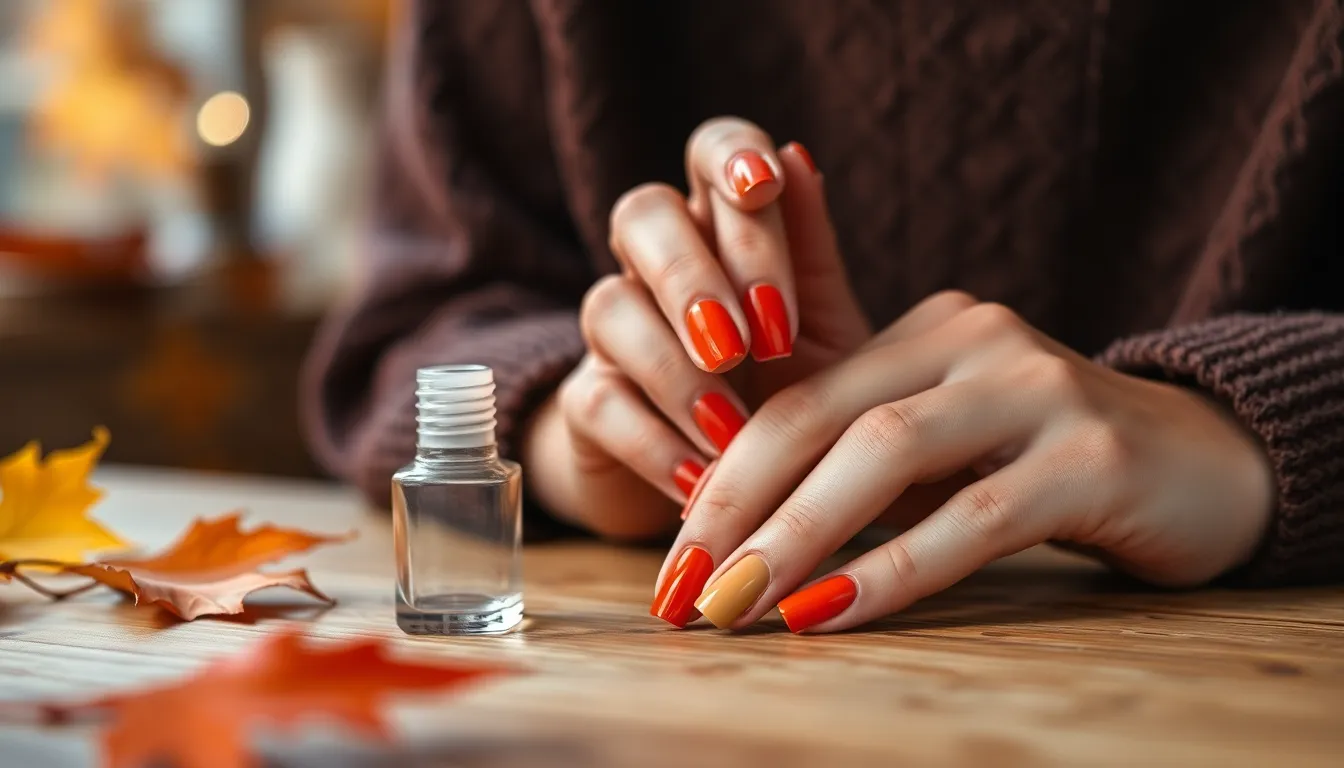
Fall’s crisp air brings the perfect excuse to switch up our nail game with warm autumn hues and cozy designs. We know that creating stunning fall nail art doesn’t require professional skills or expensive tools – even beginners can achieve gorgeous results with the right techniques and a little creativity.
Whether you’re drawn to classic pumpkin spice oranges, deep burgundies, or earthy neutrals, fall nail designs offer endless possibilities for expressing your seasonal style. We’ve discovered that simple techniques like gradient effects, leaf patterns, and metallic accents can transform basic manicures into eye-catching masterpieces that’ll have everyone asking where you got your nails done.
The best part? These beginner-friendly designs use common household items and drugstore polishes you probably already own. We’ll show you how to create professional-looking fall nails from the comfort of your home, proving that beautiful seasonal nail art is accessible to everyone.
Classic Fall Colors That Never Go Out of Style
Classic fall nail colors provide the perfect foundation for beginner friendly designs that capture autumn’s essence. These timeless shades work beautifully on their own or as base colors for more intricate nail art.
Rich Burgundy and Wine Shades
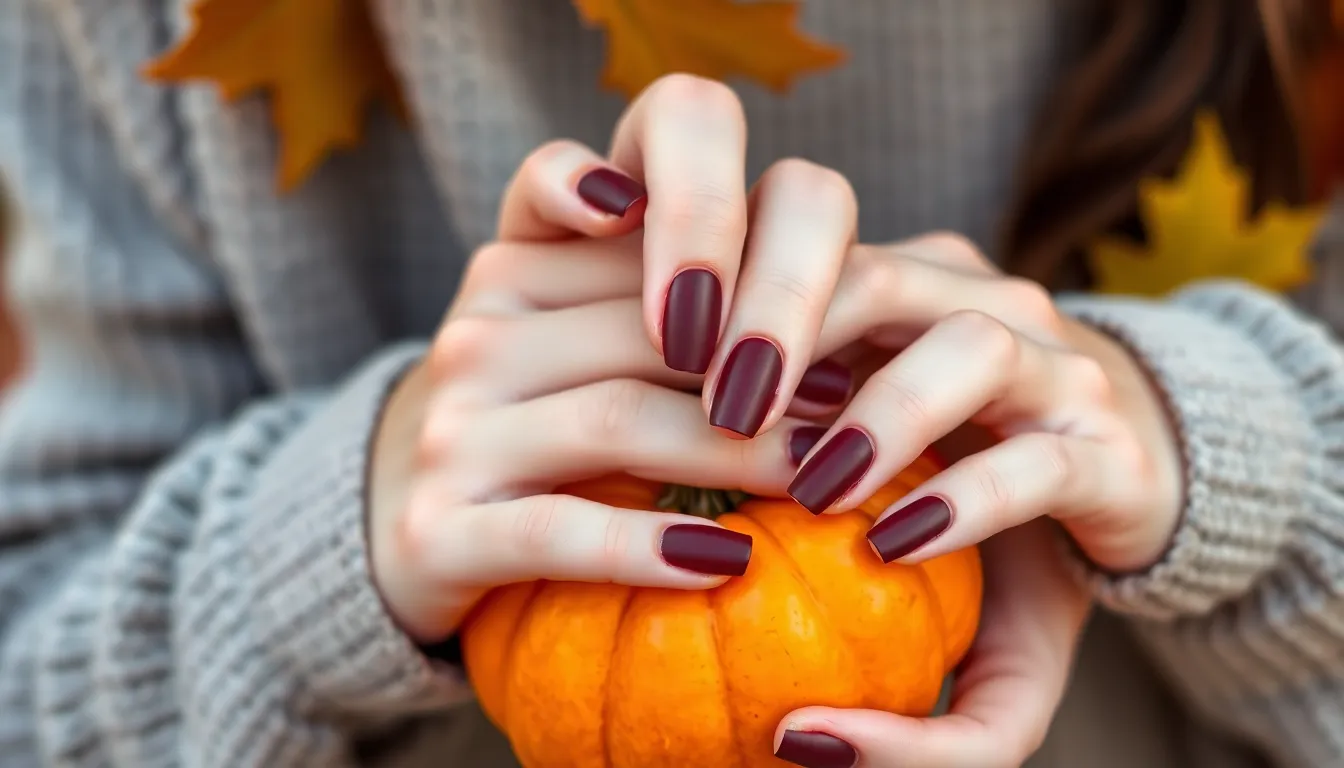
Burgundy nail polish creates an instantly sophisticated look that complements any fall wardrobe. We love how this deep red shade flatters all skin tones and works perfectly for both casual and formal occasions. Wine colored polishes like Essie’s “Bordeaux” or OPI’s “Malaga Wine” offer rich pigmentation that requires just two coats for full coverage.
Application becomes effortless when you:
- Apply a base coat to prevent staining
- Use thin layers instead of thick ones
- Finish with a glossy top coat for longevity
Dark red shades pair beautifully with gold accent nails or subtle glitter toppers. Beginners can easily create elegant designs by painting just the ring finger in a complementary metallic shade.
Warm Orange and Pumpkin Tones
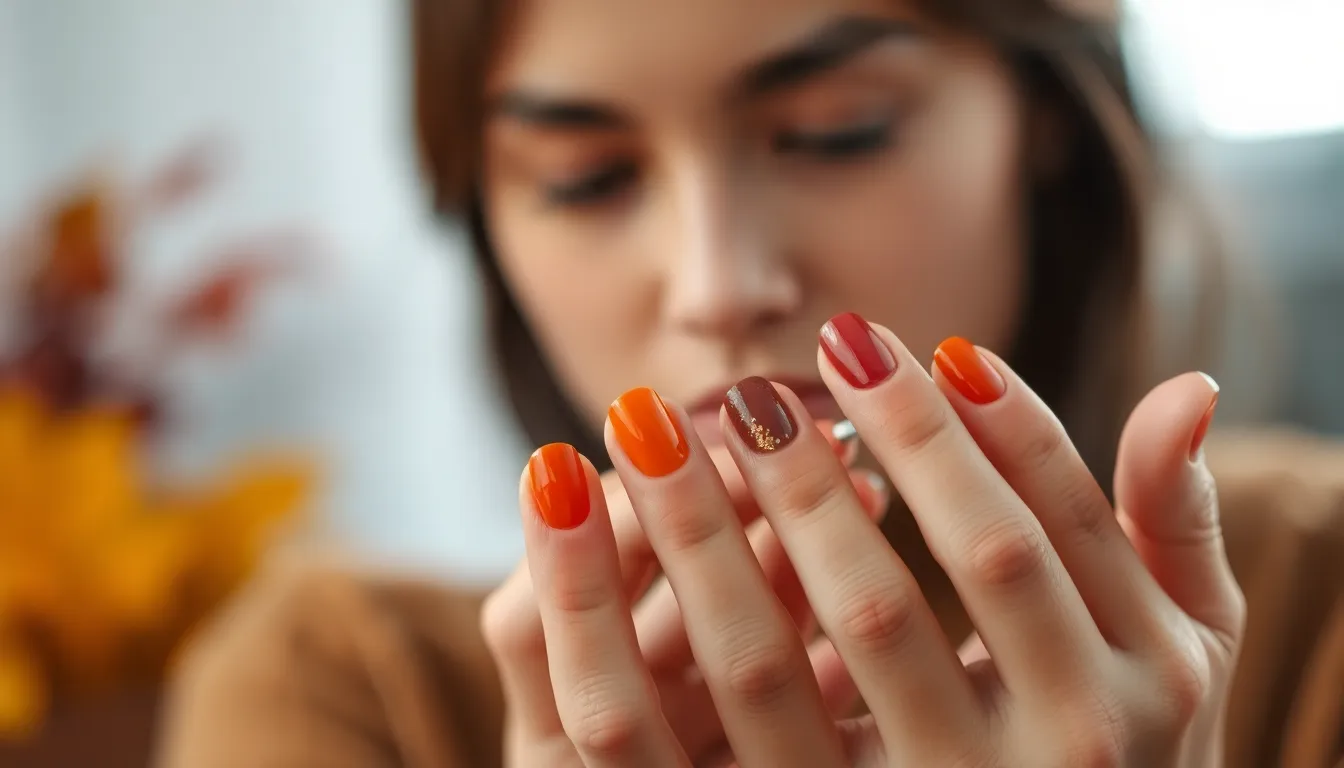
Orange nail polish brings warmth and energy to fall manicures while staying true to the season’s palette. We recommend starting with burnt orange shades like Sally Hansen’s “Pumpkin Donut” or China Glaze’s “Autumn Nights” for the most wearable options. These colors work exceptionally well with neutral outfits and add a pop of seasonal color.
Perfect orange applications include:
- Single color manicures for bold statements
- Gradient designs mixed with yellow or red
- Accent nails paired with cream or beige bases
Pumpkin tones look stunning when topped with copper glitter or paired with small leaf decals. These shades require careful application since orange can appear streaky, so we suggest using a white base coat first.
Deep Forest and Olive Greens
Forest green nail polish offers a sophisticated alternative to traditional fall colors while maintaining seasonal relevance. We find that olive and hunter green shades like Zoya’s “Hunter” or Essie’s “Sew Psyched” create elegant manicures that feel both earthy and refined. These versatile colors complement gold jewelry and work beautifully with autumn fashion trends.
Green shades excel in these applications:
- Matte finishes for modern, understated looks
- Metallic accents using gold or bronze
- Nature inspired designs with small branch or leaf details
Deep green polishes provide excellent coverage and typically last longer than lighter shades. Beginners can create stunning fall designs by alternating forest green with warm brown or adding tiny gold dots for a luxurious finish.
Simple Solid Color Manicures for Fall Beginners
Building on those beautiful fall foundation colors, we can transform them into stunning nail designs using simple finishing techniques. Solid color manicures provide the perfect starting point for beginners to experiment with different textures and styles.
Matte Finish Techniques
Matte finishes create sophisticated fall nail looks without requiring advanced skills. We recommend starting with your favorite fall polish shade and applying two thin coats for even coverage. Once completely dry, apply a matte top coat like OPI’s formula to transform glossy colors into velvety textures.
Application becomes foolproof when you follow these steps. First, ensure your base color is completely dry to prevent smudging. Next, apply the matte top coat in thin, even strokes from cuticle to tip. Finally, avoid touching your nails for at least 10 minutes to achieve that perfect matte finish.
Matte textures work exceptionally well with autumn colors like deep burgundy, pumpkin orange, and forest green. These shades gain depth and richness when transformed with matte finishes. We’ve found that matte burgundy creates an elegant, sophisticated look that’s perfect for fall gatherings.
Glossy Fall Neutrals
Glossy finishes highlight the natural beauty of neutral fall shades. Beige, muted browns, and soft oranges become luminous when topped with a high-quality glossy top coat. We suggest choosing neutral shades that complement your skin tone for the most flattering results.
Neutral colors offer versatility that works with any fall outfit. Warm beiges pair beautifully with cozy sweaters and boots. Muted browns create earthy elegance that complements fall’s natural palette. Soft oranges provide subtle warmth without being overwhelming.
Professional looking results come from proper application techniques. Apply your chosen neutral shade in two thin coats, allowing each layer to dry completely. Finish with a glossy top coat to boost shine and extend wear time. We recommend reapplying top coat every few days to maintain that fresh, glossy appearance.
Two-Tone Color Blocking
Two-tone color blocking creates striking nail art using just two complementary fall colors. This technique involves painting different sections of each nail with contrasting shades. We love pairing burnt orange with muted beige or warm brown with cream for sophisticated fall combinations.
Simple application methods make this design accessible for beginners. Paint half of each nail with your first color, then complete the other half with your second shade. Alternatively, create diagonal splits or geometric shapes using tape as guides. Clean lines form easily when you use steady brush strokes and take your time.
Color combinations work best when they complement each other. Deep burgundy pairs beautifully with soft pink tones. Forest green creates stunning contrast with warm gold shades. We suggest testing color combinations on a nail wheel before committing to your final design.
Easy Accent Nail Designs Using Fall Themes
Building on solid color foundations, accent nails let you add seasonal flair without overwhelming your manicure. We’ll explore three beginner-friendly designs that capture autumn’s essence while keeping application simple and achievable.
Single Gold Glitter Accent
Transform your fall manicure instantly by adding gold glitter polish to just one nail per hand. We recommend choosing your ring finger or middle finger as the accent nail since these placements create the most visual impact. Start with a warm autumn base color like pumpkin orange or deep brown on all nails, then apply the gold glitter polish over your chosen accent nail once the base is completely dry. Apply the glitter in thin layers to avoid clumping, building up coverage gradually until you achieve your desired sparkle level. This technique works particularly well because it adds festive shimmer while maintaining an elegant, understated look that’s perfect for beginners who want to experiment with nail art.
Simple Leaf Outline on Ring Finger
Create beautiful leaf designs using just a thin detail brush and contrasting polish colors over your fall base. We suggest starting with burnt orange, mustard, or deep red as your foundation, then using white or gold polish to draw simple leaf shapes. Draw curved lines to form the basic leaf outline, then add a central vein line down the middle for authenticity. Keep the design minimalist by focusing on clean, simple shapes rather than intricate details. This hand-painted approach gives you complete control over size and placement, making it easy to customize the design to your preference while maintaining that chic, understated autumn vibe.
Minimalist Pumpkin Dot Design
Design adorable pumpkins using basic dotting techniques that require no advanced artistic skills. We start with a pumpkin orange base polish on your chosen accent nail, allowing it to dry completely before beginning the design. Use a dotting tool to place four large dots in a cluster to form the pumpkin’s body, then connect these dots with gentle curved lines using a thin brush. Add a small green stem on top using the same thin brush technique. This sketchy, hand-drawn style creates an artsy, abstract look that’s forgiving of imperfections and actually benefits from the organic, slightly uneven appearance that comes naturally to beginners.
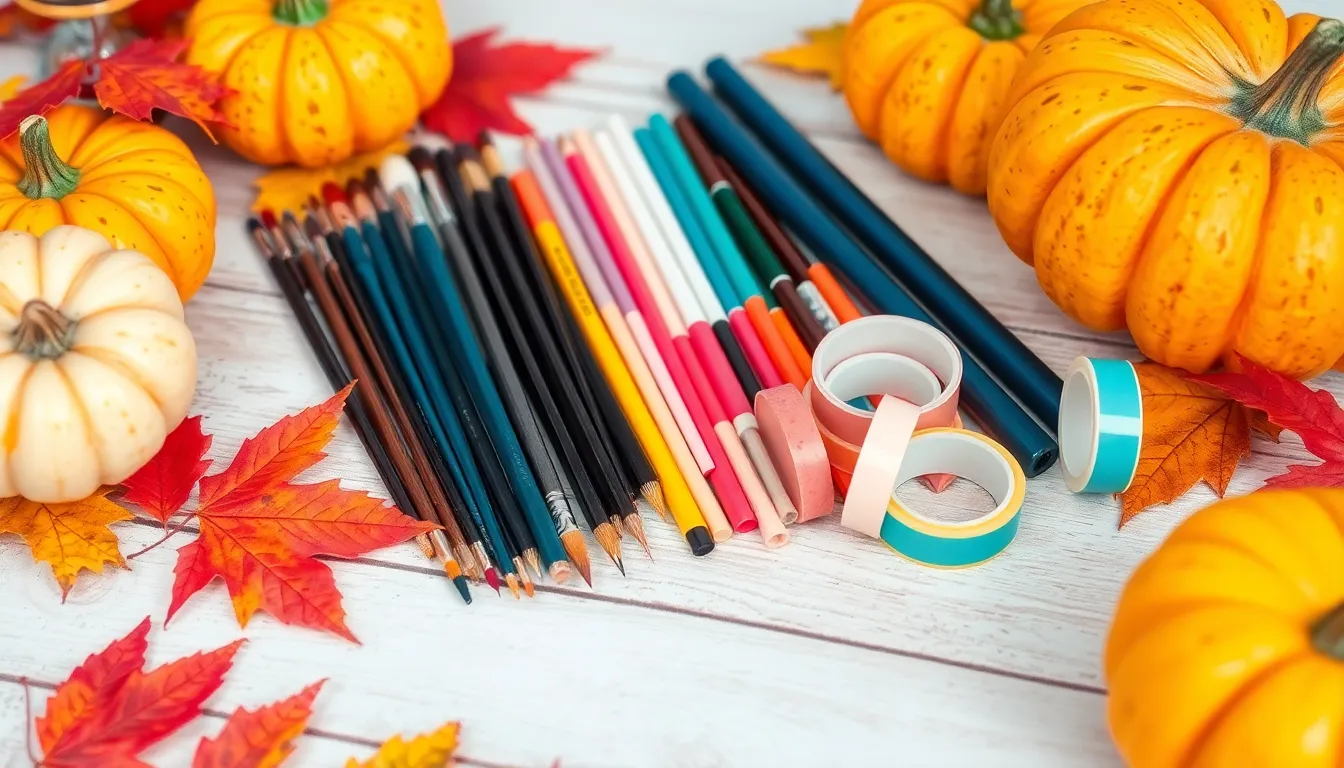
Beginner-Friendly Nail Art Tools and Materials
Building beautiful fall nail designs becomes much simpler when you have the right tools in your collection. We’ll walk you through the essential items that make creating stunning autumn nail art accessible for everyone.
Essential Brushes for Simple Designs
Detail nail art brushes transform simple manicures into artsy masterpieces with their fine tips. These brushes excel at creating small intricate elements like hand-drawn pumpkins or delicate flower petals that capture fall’s essence. We recommend starting with one medium-sized detail brush since it’s versatile enough for most beginner designs.
Sketchy artistic designs become achievable when you use these brushes to add personal touches to your nails. Detail brushes allow you to create organic, freehand patterns that don’t require perfect precision. Practice drawing simple autumn motifs like tiny leaves or pumpkin stems to build your confidence.
Large brushes work perfectly for filling in bigger design areas or creating bold strokes. These tools help you paint background elements or larger decorative features without multiple passes. We find that having both fine and large brushes gives you the flexibility to tackle any fall design.
Dotting Tools for Easy Patterns
Dotting tools come in various sizes and serve as your go-to instruments for creating neat, repetitive patterns. These versatile tools excel at making polka dots, flower centers, and pumpkin shapes with minimal effort required. We suggest investing in a set that includes multiple tip sizes for design variety.
Five petal flower techniques become effortless when you master the basic dotting motion. Create charming floral patterns by placing five dots in a circle formation, then adding a center dot in a contrasting color. This simple method produces professional-looking results without advanced skills.
Pumpkin bodies can be formed quickly using larger dotting tools to create round shapes. Add small stems and leaves with your detail brush to complete the seasonal look. We love how dotting tools help beginners achieve consistent shapes and sizes across all nails.
Precision patterns emerge naturally when you use dotting tools for geometric designs. Create perfect circles, flower centers, or decorative borders with steady, controlled movements. These tools eliminate the guesswork involved in freehand circular motions.
Nail Tape for Clean Lines
Nail tape creates crisp, professional-looking lines and geometric shapes effortlessly for beginners. This adhesive tool removes the challenge of painting straight edges by hand, ensuring your fall designs look polished and intentional. We recommend having both thin and medium width tape options available.
Geometric autumn patterns become accessible when you use tape to section off design areas. Create triangular leaf shapes, diamond patterns, or clean color blocks that complement your fall color palette. Remove the tape while the polish is slightly wet for the cleanest edges.
Stripe designs work beautifully for creating minimalist fall looks that still capture seasonal spirit. Apply your base color, place tape strategically, then paint over with a contrasting autumn shade. This technique produces sophisticated results that look much more complex than they actually are.
Professional finishes result from tape’s ability to create sharp, defined boundaries between colors. Even beginner nail artists can achieve salon-quality looks when they master basic taping techniques. We find that practicing on practice wheels first helps build confidence before working on your actual nails.
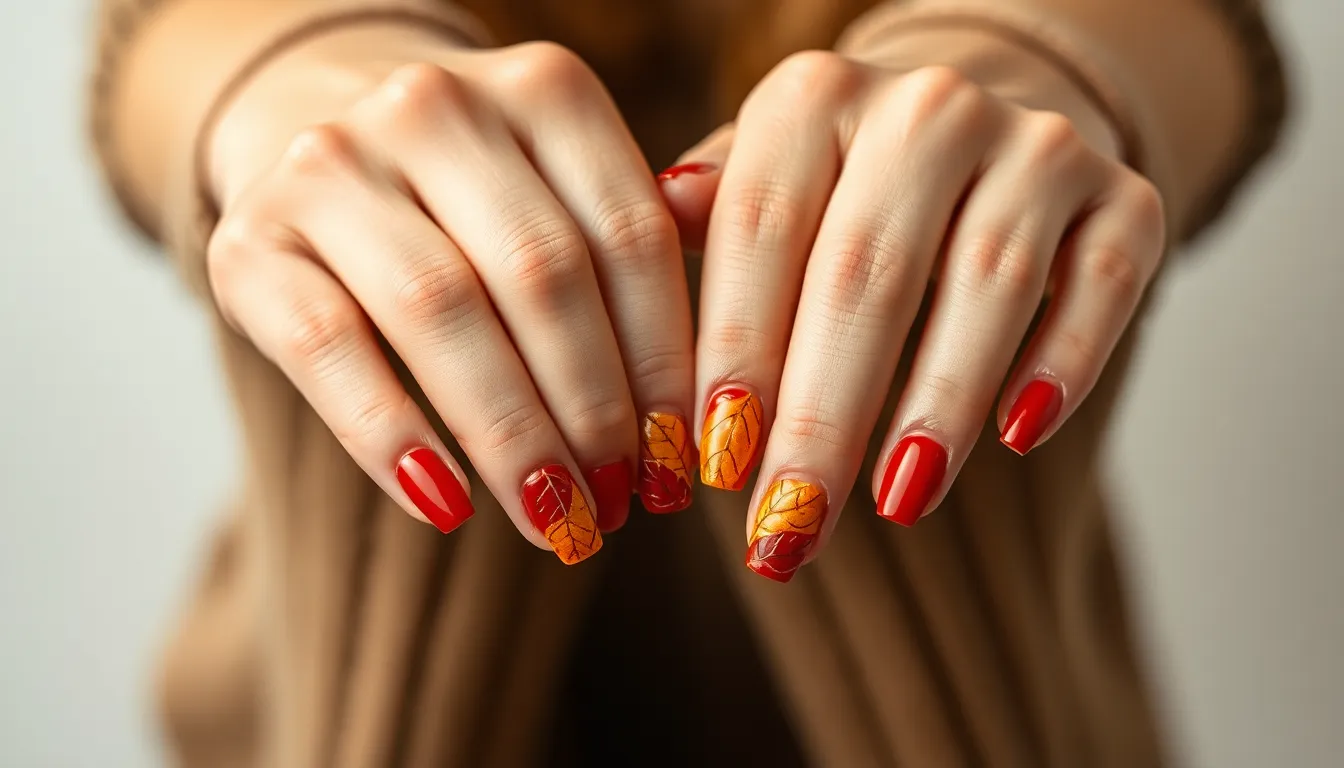
Step-by-Step Fall Leaf Nail Art Tutorial
Let’s create stunning fall leaf nail art using this simple technique that’s perfect for beginners. We’ll guide you through each step to achieve professional-looking autumn designs at home.
Preparing Your Base Color
Apply a warm fall base color like pumpkin orange, deep red, or beige to start your leaf design. We recommend using two thin coats rather than one thick application for the smoothest finish. Let each coat dry completely before moving to the next step to prevent smudging or bubbling. Base colors in autumn shades provide the perfect canvas for leaf motifs and help your design pop against the seasonal backdrop.
Creating Simple Leaf Shapes
Draw basic leaf shapes using a detail nail art brush or thin brush with contrasting colors like black or dark brown. Start with simple teardrop or oval shapes that represent natural leaf forms without requiring advanced artistic skills. Create multiple small leaves across your nail or focus on one larger leaf design depending on your preference and nail size. Contrasting colors against your warm base will make the leaf shapes stand out beautifully and give your design visual depth.
Adding Details with Thin Brushes
Enhance your leaf shapes by adding veins and outlines using an even thinner brush or nail art pen once the base shapes are completely dry. Draw simple lines from the center of each leaf outward to mimic natural leaf veining patterns. Add small dots or glitter accents to create the illusion of dew drops or autumn sparkle for extra seasonal charm. Finish with either a matte or glossy topcoat to seal your design and ensure it lasts longer while maintaining a smooth professional appearance.
Quick and Easy Gradient Fall Designs
Gradient designs offer a perfect introduction to fall nail art because they create stunning visual effects while remaining surprisingly manageable for beginners. We’ll explore three foolproof techniques that transform your nails into autumn masterpieces using simple blending methods.
Sunset Ombre Technique
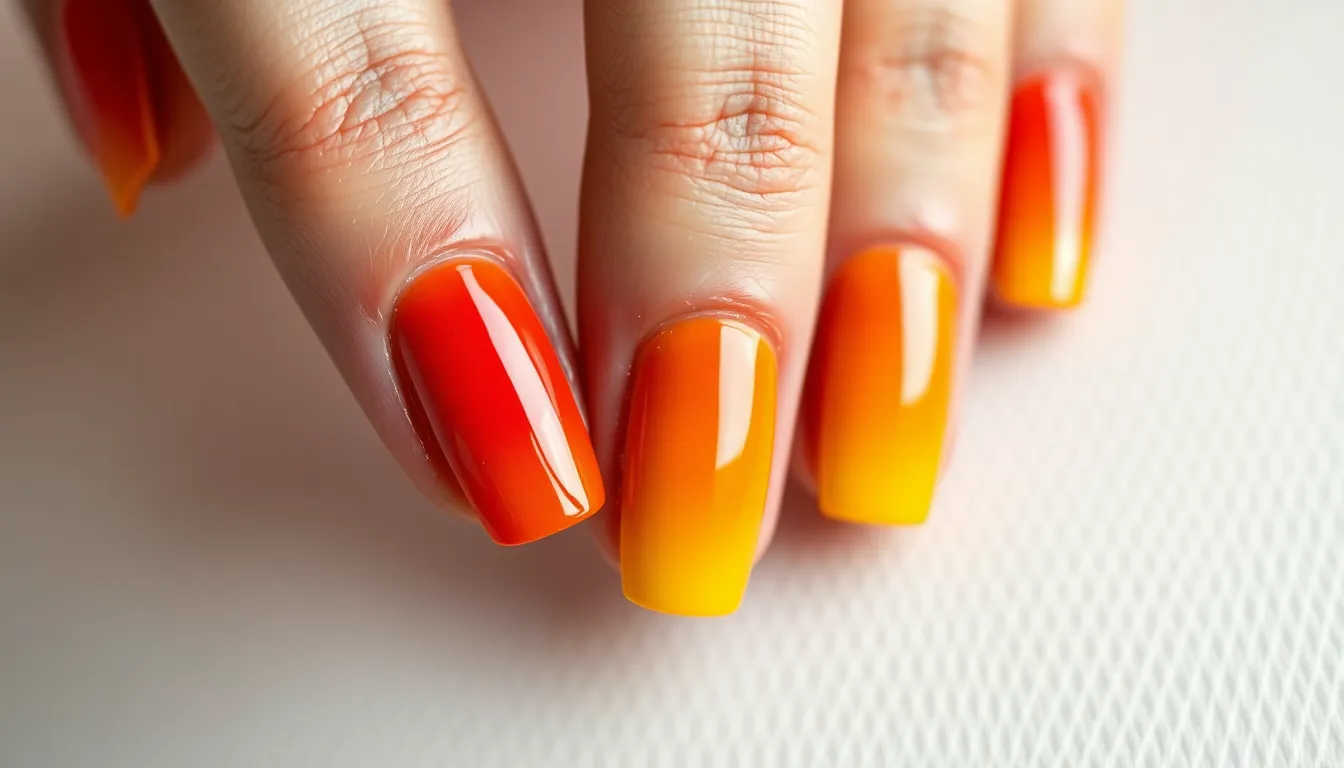
This technique brings the warmth of autumn sunsets directly to your fingertips by blending colors reminiscent of nature’s evening palette. Apply two thin coats of pumpkin orange polish as your foundation, allowing each layer to dry completely to prevent smudging. Paint warm oranges, reds, and yellows onto a small cosmetic sponge in adjacent strips, then gently dab the sponge onto your nail surface. Blend the colors upward or downward using light tapping motions to create that smooth ombre transition. We recommend this method for beginners because it requires minimal tools and allows creative freedom in color placement while producing professional looking results.
Two-Color Sponge Blending
Using a small cosmetic sponge simplifies the gradient process by eliminating the need for advanced brush techniques. Paint two complementary fall colors side by side directly onto the sponge, such as deep red paired with golden yellow or burgundy combined with copper. Dab the sponge repeatedly onto your nail surface, rotating slightly between applications to achieve seamless color blending. Press gently at first, then increase pressure gradually to intensify the gradient effect. This method works exceptionally well because the sponge’s texture naturally creates the soft transitions that make gradients so appealing.
Vertical Fall Gradient Method
Instead of traditional horizontal blending, this approach creates visual interest by placing gradient colors vertically across each nail. Start with a deep brown shade at the cuticle area, then use your sponge to blend upward into lighter tan or gold tones toward the nail tip. Apply the darker color first as your base, then work the lighter shades over it using the same sponging technique. Align your color placement vertically rather than horizontally to create this distinctive gradient variation. We find this method equally accessible for beginners while offering a fresh alternative to standard gradient applications that adds unique dimension to your fall manicure.
Simple Geometric Patterns for Autumn
Geometric nail designs offer beginners a perfect way to incorporate clean lines and shapes into their fall manicures. These patterns work beautifully with autumnal colors like burnt orange, deep reds, mustard yellow, and browns while maintaining simplicity.
Triangle Accent Designs
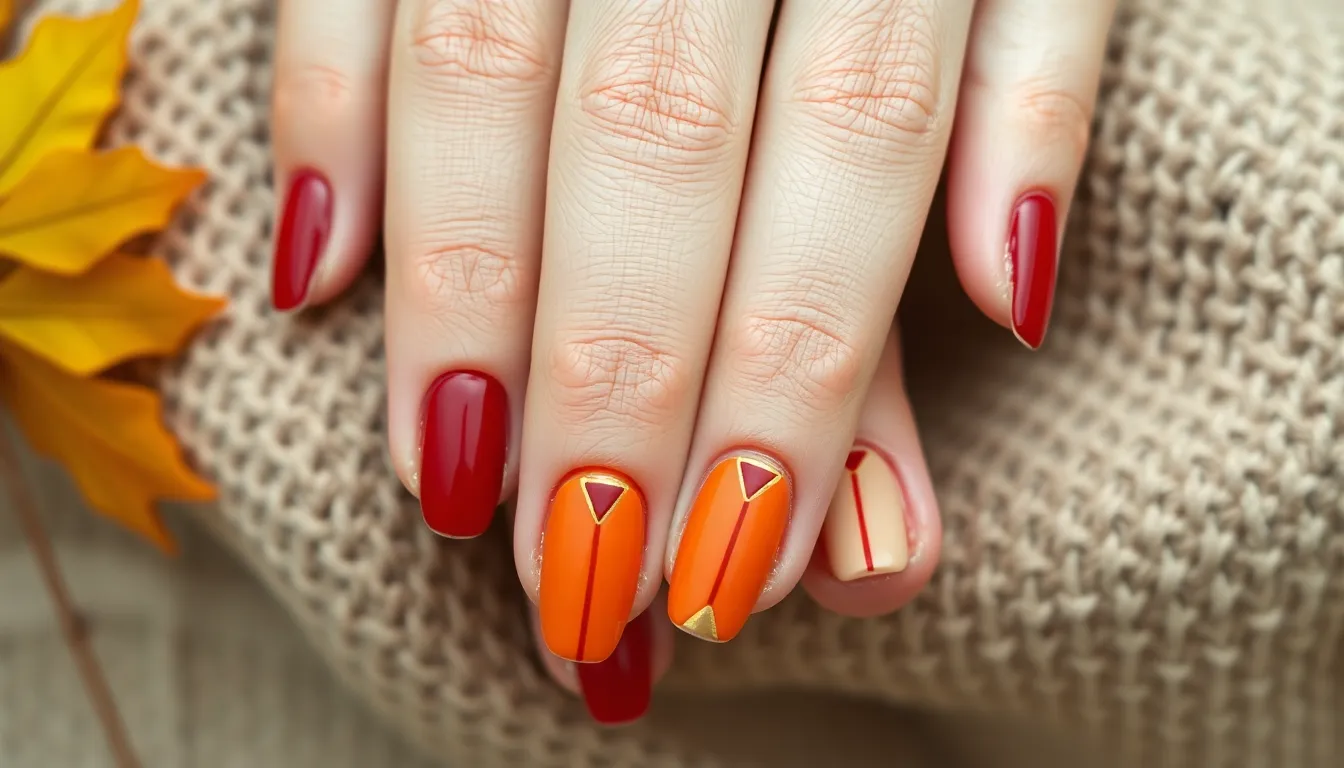
Triangle accents create striking focal points that transform basic fall manicures into sophisticated designs. We recommend painting your base nail a solid fall color like pumpkin orange and adding a small triangle near the cuticle or tip in a complementary shade such as beige or gold. This minimalist approach works perfectly for beginners who want abstract fall looks without complex techniques.
Application becomes effortless when you use striping tape or a thin brush to achieve neat edges. Start by applying your base coat and allowing it to dry completely. Place the tape to form your triangle shape and paint over it with your accent color. Remove the tape while the polish is still slightly wet for the cleanest lines.
Placement options give you creative freedom to customize your triangle accents. Position triangles at the base of your nails for a modern French tip alternative, or place them at the corners for asymmetrical interest. You can also combine triangles across multiple nails using contrasting fall colors for a cohesive yet ever-changing look.
Basic Stripe Patterns
Stripe patterns rank among the easiest geometric designs for nail art beginners. Vertical, horizontal, or diagonal stripes in warm tones create that cozy seasonal vibe we all crave during autumn months.
Creating perfect stripes requires minimal tools and technique. Use nail striping tape or a fine brush to layer stripes over a neutral or muted fall base coat. Apply your base color first and let it dry completely before adding your stripes. This prevents smudging and ensures clean lines every time.
Texture variations add visual interest without complexity. Mix matte and glossy finishes on alternating stripes, or vary the width by alternating thick and thin lines. These simple modifications create depth and dimension that make your manicure look professionally done.
Color combinations work best when you stick to fall’s natural palette. Try burgundy stripes over a nude base, or gold stripes over deep forest green. These seasonal pairings capture autumn’s essence while remaining wearable for everyday occasions.
Easy Checkered Fall Look
Checkered patterns evoke the cozy comfort of fall blankets and scarves while staying surprisingly simple to execute. This classic design adds instant charm to any autumn manicure without requiring advanced skills.
Building your checkered base starts with applying a light fall tone as your foundation. Choose colors like cream, light beige, or soft orange that will contrast nicely with your overlay color. Allow this base to dry completely before moving to the next step.
Creating the grid becomes manageable when you use nail striping tape or grid stickers to maintain straight lines. Apply horizontal strips first, then add vertical strips to form perfect squares. Paint over the entire nail with your darker contrasting color, then carefully remove all tape while the polish remains slightly wet.
Design placement offers flexibility for different comfort levels. Apply the checkered pattern as a full nail design for maximum impact, or use it as an accent on just one or two nails for a subtle fall statement. This approach lets you experiment with the technique while keeping your overall look balanced and wearable.
Beginner Tips for Long-Lasting Fall Manicures
Creating beautiful fall nail art is just the beginning. We’ll share professional techniques that’ll help your autumn manicures stay chip-free and vibrant for days.
Proper Base and Top Coat Application
Base coat acts as your nail’s protective barrier. We recommend applying a clear base coat before any color to shield your natural nails and boost polish adhesion. This essential step prevents staining and creates a smooth surface for your fall designs.
Color application becomes more even with proper base preparation. Thin, even strokes work best when spreading base coat from cuticle to tip. We suggest allowing the base to dry completely before moving to your chosen fall shade.
Top coat sealing protects your artistic efforts. Quality top coats add brilliant shine while extending your manicure’s lifespan. We finish every fall design with a protective top layer that locks in color and prevents chipping.
Reapplication extends wear time significantly. Fresh top coat every 2-3 days keeps your fall nails looking salon-fresh. We’ve found this simple maintenance step can double your manicure’s durability.
Cuticle Care for Professional Results
Cuticle preparation creates the foundation for polished results. We gently push back cuticles before applying any polish to achieve that neat, professional appearance. This step eliminates rough edges that can interfere with smooth color application.
Trimming requires careful attention to avoid damage. Light cuticle trimming removes only excess dead skin without cutting living tissue. We use sharp, clean cuticle nippers for precise work that won’t cause bleeding or infection.
Moisturizing prevents dryness that ruins manicure appearance. Regular cuticle oil or cream keeps the nail area healthy and smooth. We apply moisturizer daily to maintain flexibility and prevent painful hangnails that can distract from beautiful fall designs.
Timing matters for optimal cuticle care. We handle cuticle maintenance after soaking hands in warm water when skin is softest. This approach makes pushing and trimming easier while reducing the risk of tears or damage.
Quick Drying Techniques
Layer timing prevents smudging disasters. Each polish coat must dry completely before applying the next layer to avoid streaks or dents. We wait 2-3 minutes between coats, especially when creating detailed fall patterns with multiple colors.
Quick-dry products speed up the process dramatically. Special drying drops or fast-setting top coats cut waiting time in half for busy schedules. We particularly recommend these products when working with multi-layered autumn designs that require several color applications.
Temperature control affects drying speed significantly. Cool air from a fan helps nail polish set faster than warm environments. We avoid hot water and direct heat sources that can cause bubbling or uneven texture in fresh manicures.
Thin coats dry faster than thick applications. Multiple thin layers create better coverage and durability than single heavy coats. We apply polish in light, even strokes that dry quickly and build rich fall color gradually without pooling or streaking.
Conclusion
We’ve shown you that creating gorgeous fall nail designs doesn’t require expensive salon visits or professional expertise. With the right techniques and a few basic tools you can transform your nails into stunning autumn masterpieces right at home.
The key to success lies in starting simple and building your confidence with each design. Whether you choose classic solid colors warm gradients or playful geometric patterns there’s a perfect fall look waiting for your creativity.
Remember that practice makes perfect and every manicure is an opportunity to improve your skills. Don’t be afraid to experiment with different color combinations and techniques – that’s how you’ll discover your signature fall style.
Now it’s time to gather your supplies choose your favorite autumn shades and start creating. Your perfect fall manicure is just a few brush strokes away!
Frequently Asked Questions
What are the best fall nail colors for beginners?
The best fall nail colors for beginners include rich burgundy and wine shades, warm orange and pumpkin tones, and deep forest and olive greens. These classic autumn colors serve as perfect foundations for simple designs. Apply them in thin layers over a base coat and finish with a glossy top coat for a polished, professional look.
What tools do I need for basic fall nail art?
Essential tools for fall nail art include detail brushes for intricate designs, dotting tools for easy patterns, and nail tape for clean lines. These basic tools enable beginners to create professional-looking nail art with minimal effort. You can also use makeup sponges for gradient effects and grid stickers for geometric patterns.
How do I create a simple fall leaf design?
Start with a warm base color and apply two thin coats. Use a detail brush to draw simple leaf shapes with contrasting colors. Add details like veins using a thin brush, then enhance with glitter accents if desired. Finish with a matte or glossy topcoat to seal the design and achieve a professional appearance.
What’s the easiest gradient technique for fall nails?
The Two-Color Sponge Blending method is the easiest gradient technique for beginners. Apply your chosen fall colors to a makeup sponge, then dab it onto your nails to create a seamless blend. This foolproof technique simplifies the gradient process while producing professional-looking results with warm autumn colors.
How can I make my fall manicure last longer?
Apply a proper base coat to protect your nails and enhance polish longevity. Use thin coats instead of thick ones to prevent chipping and ensure faster drying. Finish with a high-quality top coat and maintain proper cuticle care by keeping them moisturized and neatly trimmed for a professional appearance.
Are matte finishes good for fall nail designs?
Yes, matte finishes are perfect for fall nail designs as they create sophisticated looks with minimal effort. Apply a matte top coat over your chosen fall colors to enhance their depth and create an elegant, modern appearance. Matte finishes work especially well with rich burgundy, deep greens, and warm orange tones.
What are some easy geometric patterns for fall nails?
Simple geometric patterns include triangle accents using striping tape, basic stripe patterns layered over neutral bases, and easy checkered looks using grid stickers. These designs can be executed with minimal tools and techniques while maintaining a stylish, seasonal aesthetic that’s perfect for autumn.
Can I create professional-looking fall nails at home?
Absolutely! With the right tools, techniques, and practice, anyone can create beautiful fall nail art at home. Start with simple designs like solid colors or single accent nails, then gradually progress to more complex patterns. Focus on proper application techniques, thin coats, and quality base and top coats for professional results.
