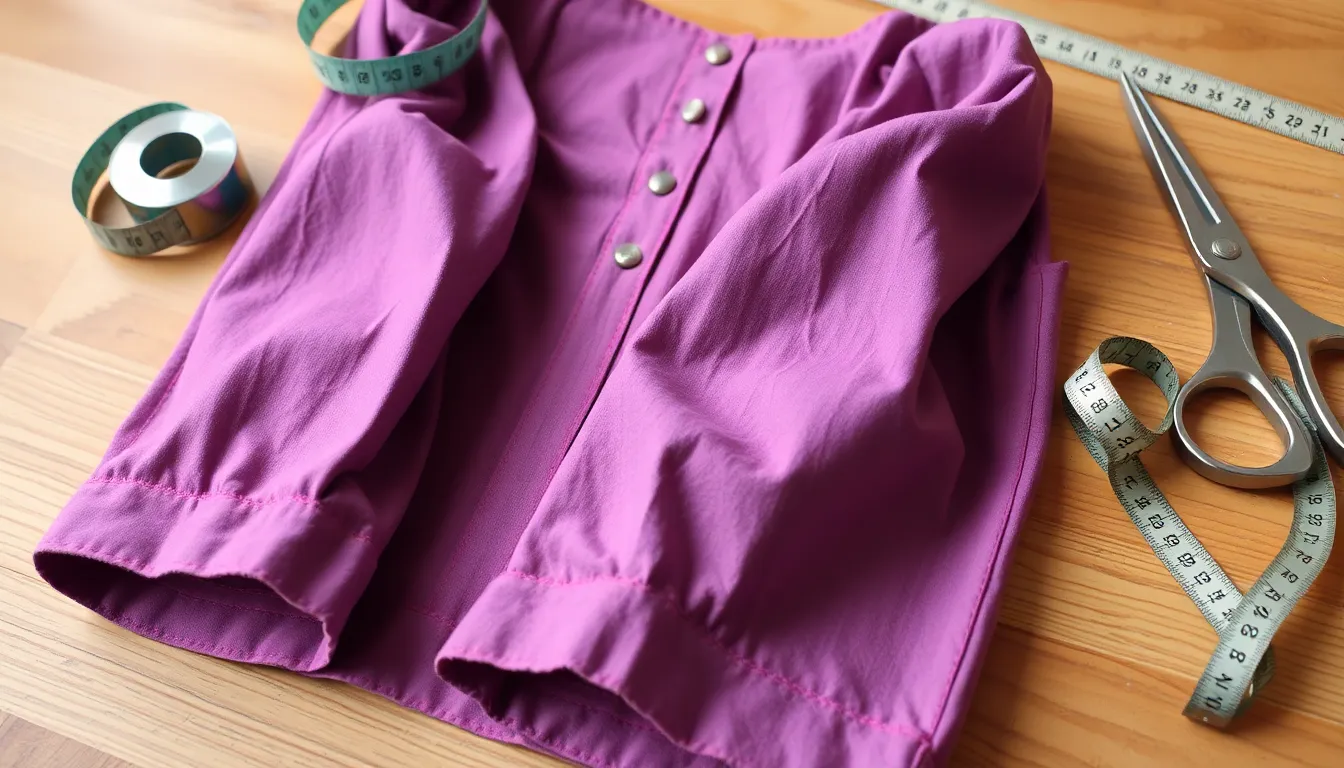
When it comes to creating stunning kurtis that blend comfort with style, we’ve discovered that 3/4 sleeve patterns are absolute game-changers. These versatile sleeves hit that perfect sweet spot between casual and elegant, making them ideal for everything from office wear to festive occasions.
We understand how challenging it can be to find the right sleeve pattern that flatters every body type while maintaining that coveted traditional charm. That’s exactly why 3/4 sleeves have become our go-to choice – they’re incredibly forgiving, seasonally appropriate, and effortlessly chic.
Whether you’re a seasoned seamstress or just starting your kurti-making journey, we’re here to guide you through three distinctive 3/4 sleeve patterns that’ll transform your wardrobe. These designs aren’t just trendy; they’re timeless pieces that’ll keep you looking polished and comfortable throughout the day.
Classic Bell Sleeve Pattern for Traditional Kurtis
Bell sleeves bring timeless elegance to traditional kurtis with their graceful flare and sophisticated silhouette. This classic pattern transforms simple kurtas into statement pieces that showcase both heritage and contemporary style.
Measuring and Cutting the Bell Shape
Accurate measurements form the foundation of perfectly fitted bell sleeves. Start by measuring your arm circumference at the bicep, then add 2-3 inches for comfortable movement. Measure from your shoulder to your desired sleeve length, typically ending at the wrist or just below.
Create your bell pattern by drawing a rectangle with these dimensions. Mark the top width as your bicep measurement plus ease, and the bottom width should be 1.5 to 2 times wider than the top. Gradually curve the sides from narrow to wide, creating a smooth bell shape rather than sharp angles.
Cut your fabric pieces with precision to ensure symmetrical sleeves. Place the pattern on folded fabric to cut both sleeves simultaneously. Add seam allowances of 0.5 inches on all sides, and consider the fabric grain direction to prevent unwanted stretching or puckering.
Sewing Techniques for Perfect Bell Sleeves
Prepare your sleeve pieces by finishing all raw edges before assembly. Use a serger or zigzag stitch to prevent fraying, especially important for the wide bell opening where fabric stress is highest. This step ensures your sleeves maintain their shape through multiple washes.
Attach sleeves to the kurta body using the set-in sleeve method. Pin the sleeve to the armhole with right sides together, matching notches and easing any fullness. Sew with a 0.5-inch seam allowance, then press seams toward the body for a clean finish.
Hem the bell opening with a narrow rolled hem for professional results. Fold the raw edge twice, creating a 0.25-inch hem that won’t add bulk to the flared opening. Topstitch close to the folded edge for durability and a polished appearance.
Styling Tips for Bell Sleeve Kurtis
Pair bell sleeve kurtis with fitted bottoms to balance the silhouette. Straight-leg pants, leggings, or churidars complement the flowing sleeves without overwhelming your frame. This combination creates visual harmony while highlighting the sleeve’s elegant movement.
Choose jewelry that enhances rather than competes with the bell sleeves. Delicate bangles or a simple watch work beautifully, while chunky bracelets can clash with the sleeve’s graceful lines. Statement earrings draw attention upward, creating a balanced overall look.
Layer thoughtfully to maintain the bell sleeve’s impact. Light cardigans or open jackets preserve the sleeve’s shape, while heavy outerwear can flatten the bell silhouette. Consider sleeveless vests or lightweight shawls for added warmth without compromising style.
Fitted 3/4 Sleeve Pattern for Modern Kurtis
Moving from the flowing elegance of bell sleeves, we now explore fitted 3/4 sleeves that create a sleek, contemporary silhouette perfect for modern kurti designs. These customized sleeves offer a sophisticated alternative that flatters the arm while maintaining comfort and movement.
Creating the Fitted Sleeve Template
Start by taking your chest measurement, shoulder to shoulder length, and desired sleeve length to establish the foundation for your pattern. For 3/4 sleeves, we measure mid-way between the elbow and wrist to achieve the perfect proportional balance.
Draft a basic rectangle using your sleeve length measurement as the starting point for creating your template. We recommend using pattern paper or cardboard to ensure durability during the cutting process.
Add a gentle curve at the armhole area to create proper fitting around the shoulder joint. This curve prevents the boxy appearance that straight cuts often produce in fitted designs.
Create your pattern by incorporating the chest measurement to determine the sleeve width at the bicep area. We typically add 2-3 inches of ease to this measurement for comfortable movement while maintaining the fitted appearance.
Dart Placement and Shaping Methods
Position cap darts at the top of the sleeve to create a smooth, customized fit over the shoulder curve. These darts are essential for eliminating excess fabric that causes bunching or pulling.
Place armhole ease strategically around the sleeve cap to ensure comfortable movement without compromising the fitted silhouette. We recommend adding 1-2 inches of ease distributed evenly around the armhole circumference.
Shape the sleeve using gentle curves at the elbow area to maintain the fitted look while allowing natural arm movement. This shaping prevents the restrictive feeling common in poorly fitted sleeves.
Calculate dart width based on the difference between your arm circumference and desired fit. We typically remove 1-2 inches through strategic dart placement to achieve the perfect fitted appearance.
Finishing Techniques for Clean Seams
Use 1/4 inch seam allowances throughout the sleeve construction to minimize bulk and create clean, professional looking seams. This measurement prevents the heavy appearance that larger seam allowances create in fitted garments.
Apply lightweight interfacing to the sleeve cap to stabilize the area and prevent stretching during wear. We recommend using fusible interfacing that matches your fabric weight for optimal results.
Finish all seams with an overlock or serger to prevent fraying and achieve the polished look characteristic of professionally made garments. This technique also adds durability to your kurti’s construction.
Add decorative topstitching along the seam lines for a modern, clean finish that enhances the fitted sleeve’s structured appearance. We suggest using thread that matches your fabric color for subtle definition or contrasting thread for bold design statements.
Gathered 3/4 Sleeve Pattern for Casual Kurtis
Gathered sleeves bring a relaxed, feminine touch to everyday kurtis while maintaining comfort and style. Creating these gathered 3/4 sleeves involves strategic fabric calculation, proper elastic insertion, and decorative finishing techniques that transform simple kurta designs into trendy casual wear.
Calculating Fabric Requirements for Gathers
Fabric calculations for gathered sleeves require precise measurements to achieve the perfect drape and fullness. We start by measuring the armhole circumference of our kurti and multiply this measurement by our desired gathering ratio.
Standard gathering ratios include 2:1 for subtle gathers or 3:1 for fuller, more dramatic sleeves. A 2:1 ratio means we’ll need twice the fabric width compared to the armhole measurement, while a 3:1 ratio requires three times the width.
Measuring the sleeve length from shoulder to desired endpoint helps determine our total fabric yardage. Most casual kurtis feature 3/4 sleeves that end approximately 6 inches above the wrist for comfortable daily wear.
Adding 2 inches to each measurement accounts for seam allowances and hemming requirements. Cotton and cotton blends work exceptionally well for gathered sleeves due to their natural drape and comfortable feel against the skin.
Elastic Insertion Methods
Elastic insertion creates comfortable, adjustable sleeve endings that accommodate various arm sizes while maintaining a neat appearance. We can choose between casing methods and direct application techniques based on our design preferences.
Creating a casing involves folding the sleeve hem twice to form a tunnel where we’ll thread our elastic. This method provides a clean finish and allows for easy elastic replacement when needed.
Measuring elastic length requires wrapping it comfortably around the desired sleeve position, typically 1 to 2 inches shorter than the actual circumference. Quarter inch or half inch wide elastic works best for 3/4 sleeve applications without creating bulk.
Threading elastic through the casing uses a safety pin or bodkin to guide the elastic while preventing it from disappearing inside the fabric tunnel. Securing both ends with strong backstitching ensures the elastic won’t shift during wear or washing.
Direct application methods involve stretching the elastic while sewing it directly to the fabric edge using a zigzag stitch. This technique creates a sportier appearance and works particularly well with knit fabrics.
Decorative Gathering Techniques
Decorative gathering elevates basic gathered sleeves into eye catching design elements that enhance the overall kurti aesthetic. We can incorporate various embellishment techniques that complement the casual nature of everyday wear.
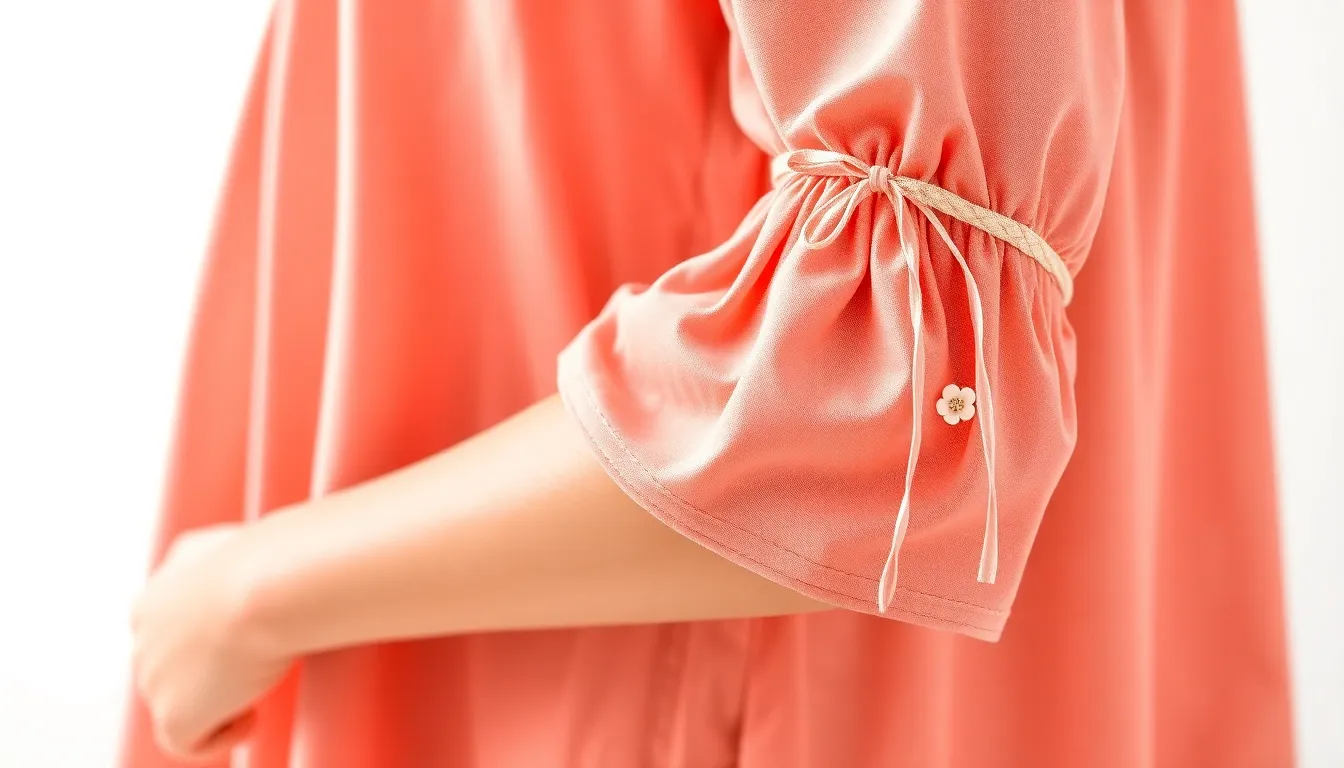
Tie up gathering uses coordinating fabric strips or ribbons to create adjustable gathers at strategic points along the sleeve. These ties add visual interest while allowing wearers to customize the gather intensity throughout the day.
Ribbon gathering involves sewing decorative ribbon directly onto the gathering line, creating a contrasting accent that draws attention to the sleeve detail. Satin ribbons work beautifully against cotton fabrics, while grosgrain ribbons provide a more structured appearance.
Floral embellishments include small fabric flowers, beads, or sequins strategically placed at gathering points to create focal areas. These decorative elements should remain subtle for casual wear, improving rather than overwhelming the overall design.
Contrasting thread gathering uses embroidery thread in complementary colors to create visible gathering stitches that become part of the decorative scheme. This technique works particularly well with solid colored fabrics where the contrasting thread creates subtle visual texture.
Essential Tools and Materials for 3/4 Sleeves Pattern
Creating perfect 3/4 sleeves requires the right combination of tools, materials, and careful planning to achieve professional results.
Cutting Tools and Measuring Equipment
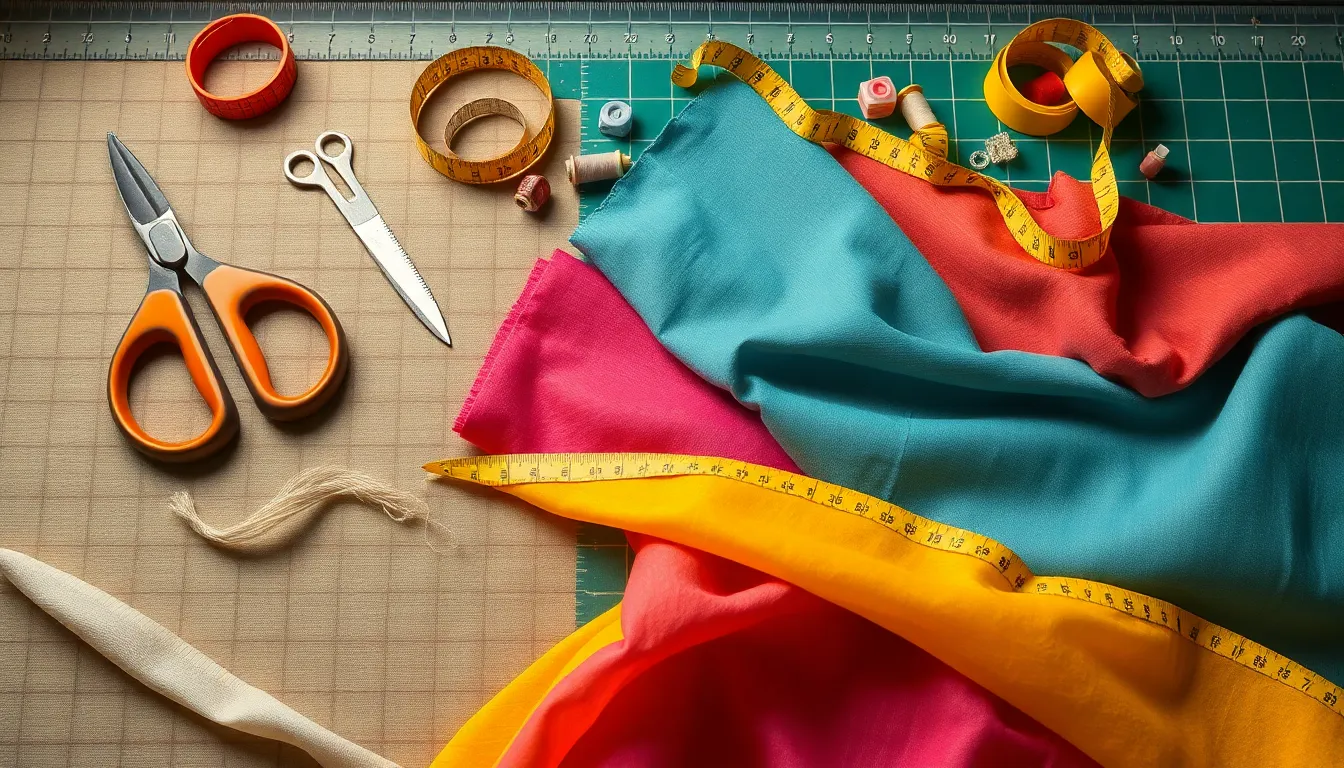
Sharp scissors form the foundation of precise fabric cutting for your 3/4 sleeve patterns. We recommend investing in high-quality fabric scissors that stay sharp longer and create clean edges without fraying. Rotary cutters paired with cutting mats deliver exceptional accuracy for straight edges and curved seams, making them invaluable for bell sleeves and fitted designs.
Measuring tapes ensure accurate body measurements and fabric dimensions throughout your project. Flexible measuring tapes work best for taking arm circumference and length measurements. Rulers and straightedges help you draw precise pattern lines and maintain consistent seam allowances across your sleeve pieces.
Marking tools like fabric pencils or water-soluble markers allow you to transfer pattern details directly onto your fabric. Choose markers that disappear easily after washing or pressing to avoid permanent marks on your finished kurti.
Fabric Selection for Different Sleeve Styles
Cotton fabrics excel for everyday kurtis with 3/4 sleeves due to their comfort and durability. These breathable materials work particularly well for gathered sleeves and casual bell sleeve designs. Cotton blends offer additional stretch and wrinkle resistance for fitted sleeve patterns.
Silk and chiffon elevate formal kurtis with their elegant drape and luxurious feel. These fabrics complement bell sleeves beautifully, creating graceful movement and sophisticated silhouettes for special occasions. Lightweight silk works exceptionally well for fitted 3/4 sleeves that require smooth lines.
Georgette and jacquard provide texture and visual interest to your sleeve designs. Georgette’s flowing quality enhances gathered sleeves, while jacquard’s structured weave supports fitted sleeve patterns. These fabrics add depth and richness to both casual and formal kurti styles.
Thread and Notions Requirements
Matching thread ensures seamless integration between your sleeves and kurti body. Select thread colors that blend perfectly with your fabric to create invisible seams and professional finishing. Polyester threads offer strength and color retention, while cotton threads work well with natural fabric choices.
Closures like buttons or zippers depend on your exact kurti design and sleeve attachment method. Covered buttons complement traditional bell sleeves, while invisible zippers work well for fitted sleeve openings. Choose closures that match your fabric weight and style aesthetic.
Interfacing and stabilizers add structure to key areas like sleeve cuffs and attachment points. Lightweight fusible interfacing supports fitted sleeves without adding bulk, while stay tape prevents stretching in curved seam areas. These notions ensure your 3/4 sleeves maintain their shape through wear and washing.
Step-by-Step Sewing Process for 3/4 Sleeves
With our pattern design complete, we’re ready to transform your chosen fabric into beautiful 3/4 sleeves that’ll enhance any kurti. The construction process requires careful attention to detail and proper sequencing to achieve professional results.
Preparing the Pattern Pieces
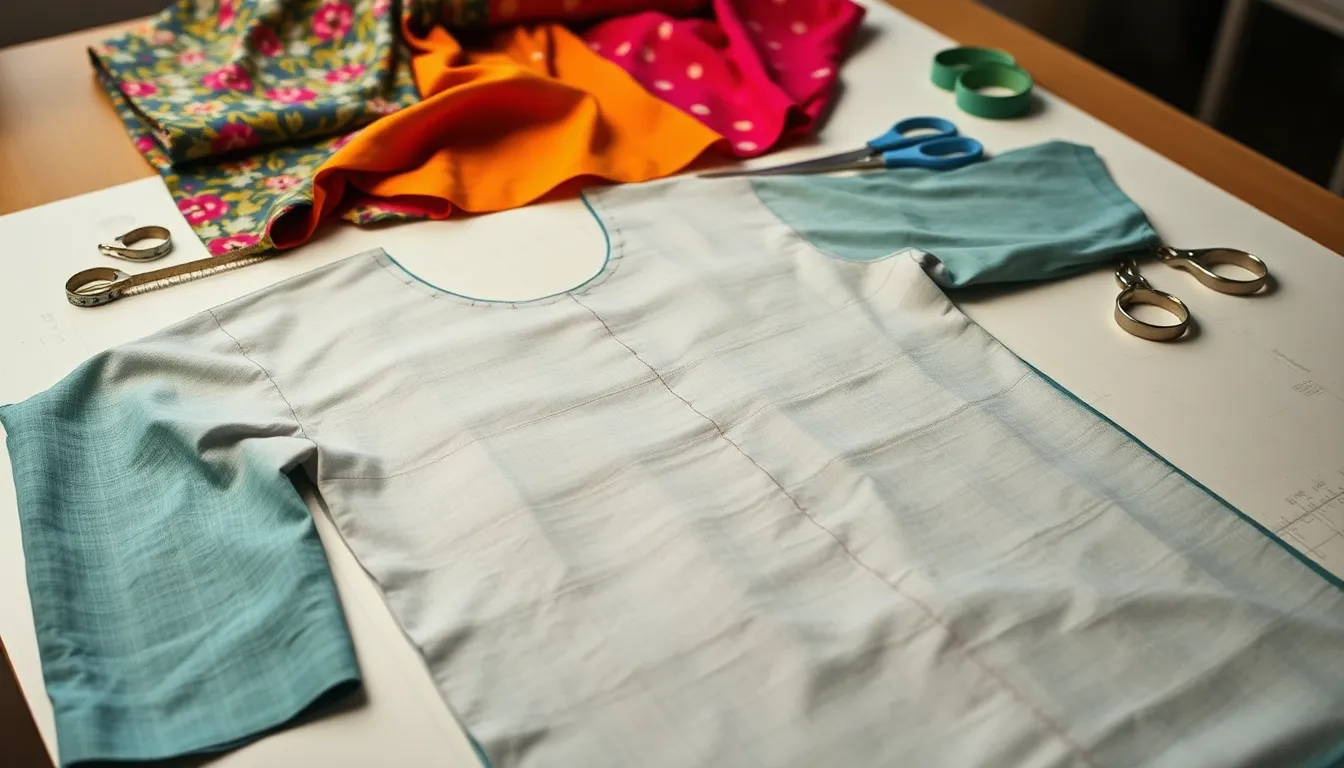
Creating your sleeve pattern begins with establishing the correct length measurement between the elbow and wrist. We recommend measuring from the shoulder point to your desired ending position, typically 3/4 of the way down the forearm. Pattern pieces require precise cutting to ensure symmetrical sleeves that fit properly on both arms.
Standard sleeve patterns work well as a foundation, but we’ll need to modify the length according to our 3/4 specifications. The armhole curve must match your kurti body pattern exactly to prevent pulling or puckering during wear. Seam allowances of 5/8 inch should be added to all edges except where patterns already include them.
Fabric layout becomes crucial when cutting sleeve pieces, especially with directional prints or napped materials like velvet. We position both sleeve pieces on the fabric simultaneously to ensure grain line consistency and pattern matching. Notches and marking points transfer from pattern to fabric using tailor’s chalk or water soluble markers for accurate assembly guidance.
Attaching Sleeves to Kurti Body
Sleeve attachment requires precise alignment between the sleeve cap and the armhole opening. We begin by matching the shoulder point of the sleeve with the shoulder seam of the kurti body, pinning these critical points first. Easing the sleeve cap into the armhole distributes any excess fabric evenly around the curve.
Pinning continues around the entire armhole, working from the shoulder point toward the underarm seam on both sides. The sleeve’s front and back notches align with corresponding marks on the kurti body for proper fit. Basting these seams by hand or machine prevents shifting during final stitching and allows for fit adjustments if needed.
Stitching the armhole seam uses a standard 5/8 inch seam allowance with a slight stretch to accommodate arm movement. We recommend using a ballpoint needle for knit fabrics or a universal needle for woven materials. Pressing the completed seam toward the sleeve creates a clean finish and prevents the seam from rolling toward the body.
Hemming and Finishing Options
Hemming 3/4 sleeves offers multiple finishing techniques depending on your desired look and fabric type. The traditional double fold hem works well for most fabrics, requiring a 1/4 inch initial fold followed by a 1 inch final fold. Pressing each fold creates crisp edges that maintain their shape through multiple washes.
Serging or zigzag stitching raw edges prevents fraying and extends the garment’s lifespan significantly. Professional seamstresses often use this technique before hemming to create the most durable finish possible. Blind hem stitching by machine creates an invisible hem from the right side while maintaining flexibility in the sleeve ending.
Decorative finishing options transform basic sleeves into designer details that elevate the entire kurti. Ribbon trim applied to the hem edge adds color contrast and visual interest, while beaded trim creates formal elegance suitable for special occasions. Topstitching with contrasting thread provides a casual, contemporary finish that works particularly well with cotton and linen fabrics.
Elastic casing at the sleeve opening creates adjustable comfort and accommodates various arm sizes. We create this finish by folding the hem to form a channel, then threading elastic through using a safety pin or bodkin. Gathering the sleeve ending with elastic creates a blouson effect that’s both comfortable and stylish for casual wear.
Common Mistakes to Avoid When Making 3/4 Sleeves
Creating beautiful 3/4 sleeves requires attention to detail and proper technique. We’ve identified the most frequent errors that can compromise your kurti’s fit and appearance.
Pattern Placement Errors
Misaligned sleeve caps create the most noticeable fitting problems in 3/4 sleeve construction. We recommend marking the center point of your sleeve cap and matching it precisely to the shoulder seam of your kurti. Incorrect placement leads to pulling, puckering, or excessive looseness around the armhole area.
Grainline positioning affects how your sleeves drape and move with the body. Place the grainline parallel to the center of the sleeve pattern piece, running from the shoulder to the hem. Diagonal or off grain placement causes twisting and uncomfortable wear.
Asymmetrical pattern pieces result in uneven sleeve lengths and shapes. We suggest folding your fabric in half and cutting both sleeves simultaneously to ensure perfect symmetry. Double check that both pattern pieces are identical before cutting your fashion fabric.
Fitting and Measurement Issues
Inadequate ease allowance creates tight, restrictive sleeves that limit arm movement. We add 2 to 3 inches of ease to the arm circumference measurement for comfortable 3/4 sleeves. Cotton fabrics require more ease than stretchy materials like jersey or modal blends.
Incorrect sleeve length measurements lead to sleeves that are too short or too long for the intended 3/4 proportions. Measure from the shoulder point to three quarters down the forearm, typically landing between the elbow and wrist. This length flatters most arm proportions and maintains the classic 3/4 sleeve aesthetic.
Armhole depth miscalculations affect the overall fit and comfort of your kurti. We measure from the shoulder point straight down to determine the proper armhole depth, which should allow for natural arm movement without binding or gaping.
Finishing Problems and Answers
Raw edge fraying compromises the professional appearance of your 3/4 sleeves over time. We finish all seam allowances with serging, zigzag stitching, or pinking shears before assembly. French seams provide the most durable finish for lightweight fabrics like cotton voile or silk.
Uneven hem lengths create an unprofessional appearance that detracts from your kurti’s overall design. Use a hem gauge to mark consistent measurements around the entire sleeve circumference. Press the hem thoroughly before stitching to ensure crisp, even edges.
Bulky seam allowances show through lightweight fabrics and create unsightly ridges. We trim seam allowances to 1/4 inch after stitching and grade them to different lengths to reduce bulk. Press seams toward the sleeve body rather than toward the kurti for the smoothest appearance.
Puckered seams around the armhole indicate tension issues during stitching. We ease the sleeve cap into the armhole by distributing fullness evenly and stitching slowly with a slightly loose upper thread tension. Pressing the seam with a press cloth prevents shine on delicate fabrics.
Conclusion
We’ve explored three stunning 3/4 sleeve patterns that’ll transform your kurti collection into something truly special. Each pattern offers its own unique charm – from the flowing elegance of bell sleeves to the modern sophistication of fitted designs and the relaxed femininity of gathered styles.
Armed with the right tools materials and techniques you’re now ready to create professional-looking kurtis that rival any designer piece. Remember that practice makes perfect and even small mistakes can become learning opportunities that improve your skills.
Whether you’re dressing up for a special occasion or creating everyday casual wear these versatile 3/4 sleeve patterns will serve you well. Start with the pattern that appeals to you most and gradually experiment with all three designs to build a diverse wardrobe that reflects your personal style.
Frequently Asked Questions
What makes 3/4 sleeves so popular in kurti designs?
3/4 sleeves offer perfect versatility, blending comfort with style for any occasion. They’re flattering on various body types and work well for both casual and formal settings. These sleeves provide the ideal balance between coverage and breathability, making them a timeless choice for modern kurti designs.
Which fabric works best for 3/4 sleeve kurtis?
Cotton is ideal for everyday wear due to its breathability and comfort. For formal occasions, choose silk or chiffon for an elegant drape. Georgette and jacquard add beautiful texture and visual interest. The fabric choice should complement your sleeve style – fitted sleeves work well with structured fabrics, while gathered sleeves suit flowing materials.
How do I measure for the perfect 3/4 sleeve fit?
Start by measuring from your shoulder point to about 2-3 inches below your elbow. Add 1-2 inches for ease and seam allowances. For fitted sleeves, measure your arm circumference at the widest point. Always double-check measurements and create a test pattern before cutting your final fabric.
What’s the difference between bell sleeves and fitted 3/4 sleeves?
Bell sleeves flare out from the elbow, creating a dramatic, flowing silhouette perfect for traditional styles. Fitted 3/4 sleeves hug the arm closely, offering a sleek, contemporary look. Bell sleeves add movement and elegance, while fitted sleeves provide a structured, professional appearance suitable for modern kurti designs.
How do I prevent common sewing mistakes with 3/4 sleeves?
Ensure proper pattern alignment and grainline positioning for symmetrical sleeves. Always check measurements twice and add adequate ease allowance. Use sharp cutting tools and maintain consistent seam allowances. Pin carefully when attaching sleeves to prevent shifting, and finish raw edges properly to avoid fraying and achieve professional results.
What tools do I need to sew 3/4 sleeves professionally?
Essential tools include sharp fabric scissors or rotary cutters, flexible measuring tape, pins, and quality thread. Use interfacing for structure in fitted sleeves and consider sergers for clean edge finishing. A good sewing machine with appropriate needles for your fabric type is crucial for achieving professional-looking results.
How do I style bell sleeve kurtis effectively?
Pair bell sleeve kurtis with fitted bottoms like leggings or straight pants to balance the silhouette. Choose delicate jewelry that complements rather than competes with the sleeves. Avoid bulky layers that might overwhelm the bell shape. Focus on accessories that enhance rather than distract from the sleeve’s elegant movement.
Can I adjust 3/4 sleeves for different arm sizes?
Yes, create adjustable openings using elastic casings for comfort and versatility. For gathered sleeves, adjust the gathering ratio to accommodate different arm sizes. You can also add drawstrings or tie-up details for customizable fit. Consider making the sleeve opening slightly larger and using elastic or ties for adjustment.
What’s the best finishing technique for 3/4 sleeve hems?
Traditional double-fold hems work well for most fabrics and provide a clean finish. For delicate fabrics, consider serging raw edges before hemming. Decorative finishes like ribbon trim or beaded edges can add visual interest. Always ensure even hem lengths by measuring carefully and using proper pressing techniques for professional results.
How do I calculate fabric for gathered 3/4 sleeves?
Use a 1.5:1 to 2:1 gathering ratio – this means your fabric width should be 1.5 to 2 times the finished sleeve circumference. For standard 3/4 sleeves, you’ll typically need 12-14 inches of fabric length. Add extra fabric for seam allowances and hem finishing. Always purchase slightly more fabric than calculated to account for adjustments.
